|
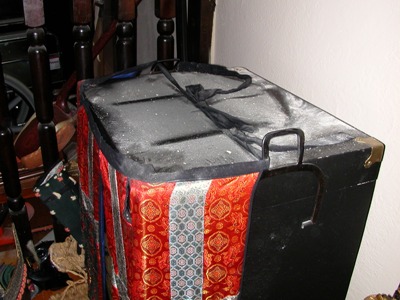
1st: Attach "skirt" to armor box |
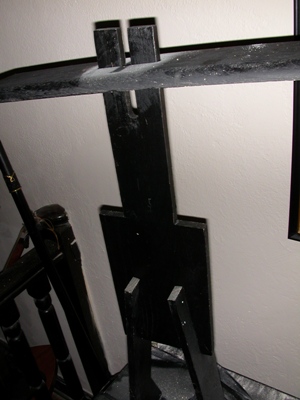
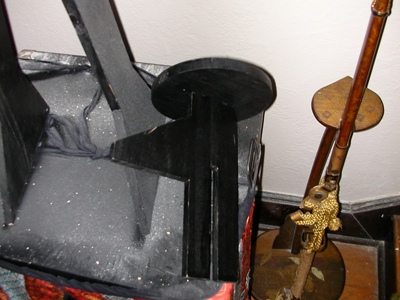
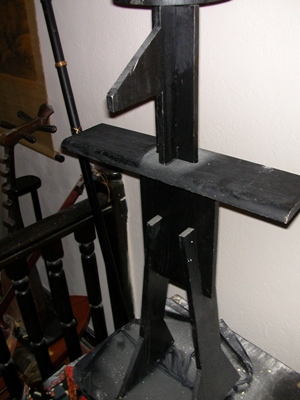
The display also requires an armature to mimic the shape of the human torso. The armature supplies "shoulders" and a "head." The design of the armature varies greatly. The next three figures illustrate a "knock-down" armature.
|
2nd: Put armature together on top of box |
|
2nd: Put armature together on top of box |
|
2nd: Put armature together on top of box |
The details of any given suit of armor will vary; however, the following figures, while pertaining to a particular suit of armor, may give some clues for other suits.
|
3rd: Put shoulder pads on armature |
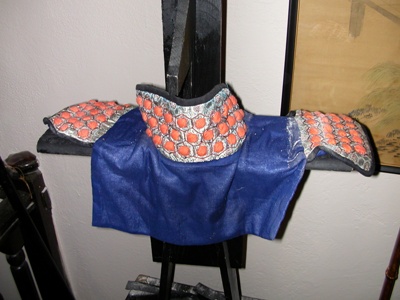
Note the loops that are attached to the parts of the body armor that come over the shoulders. These provide attachment points for the arms and shoulder armor.
|
4th: Attach body armor over shoulder pads |
The sash is decorative. The leg armor are not connected to anything and may require stuffing of some stiffening material to stand upright.
|
5th: Tie sash and place leg armor and shoes in front |
The arms are tied with sufficient slack to rest in natural positions.
|
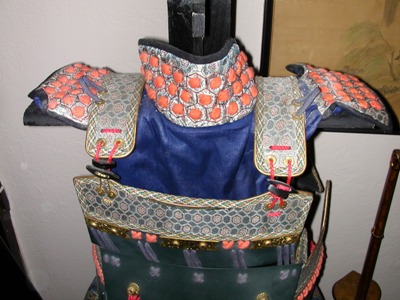
6th: Tie arm armor to body armor |
The shoulder armor is tied more closely, to protect the shoulders and provide some neck protection.
|
7th: Tie shoulder armor to body armor |
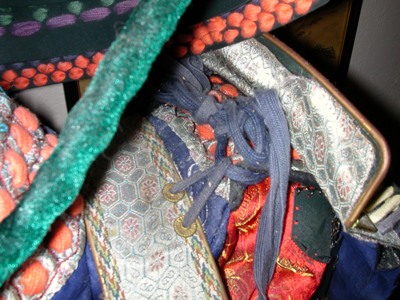
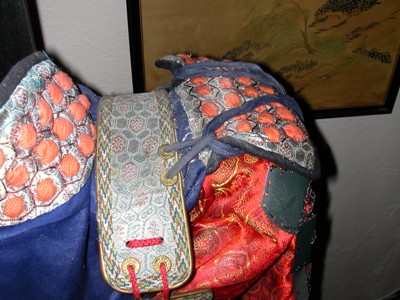
The helmet (in this case) has connection points that allow the creation of two loops to hold connection points on the menpo (next two figures). The cord is then adjusted to fit beneath the chin of the menpo.
|
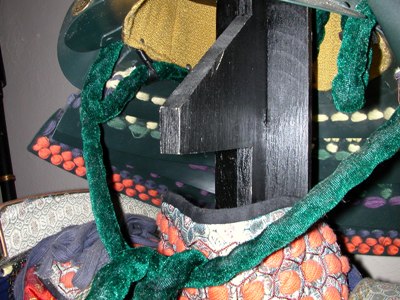
8th: Place helmet on armature and connect cord that will hold |
|
9th: Attach menpo to helmet |
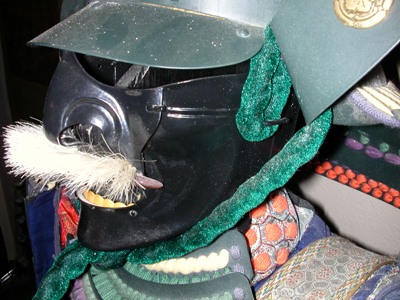
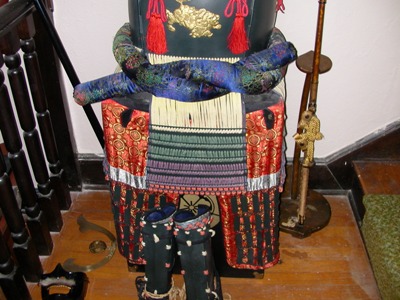
Once everything is connected, it will require adjustments to look right.
|
10th: Arrange armor |
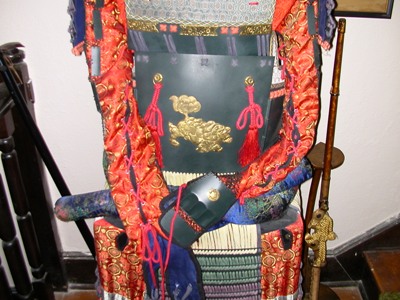
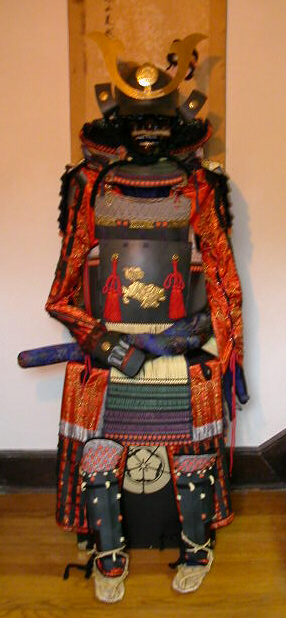
This figure shows the completed display.
|
Completed armor display |
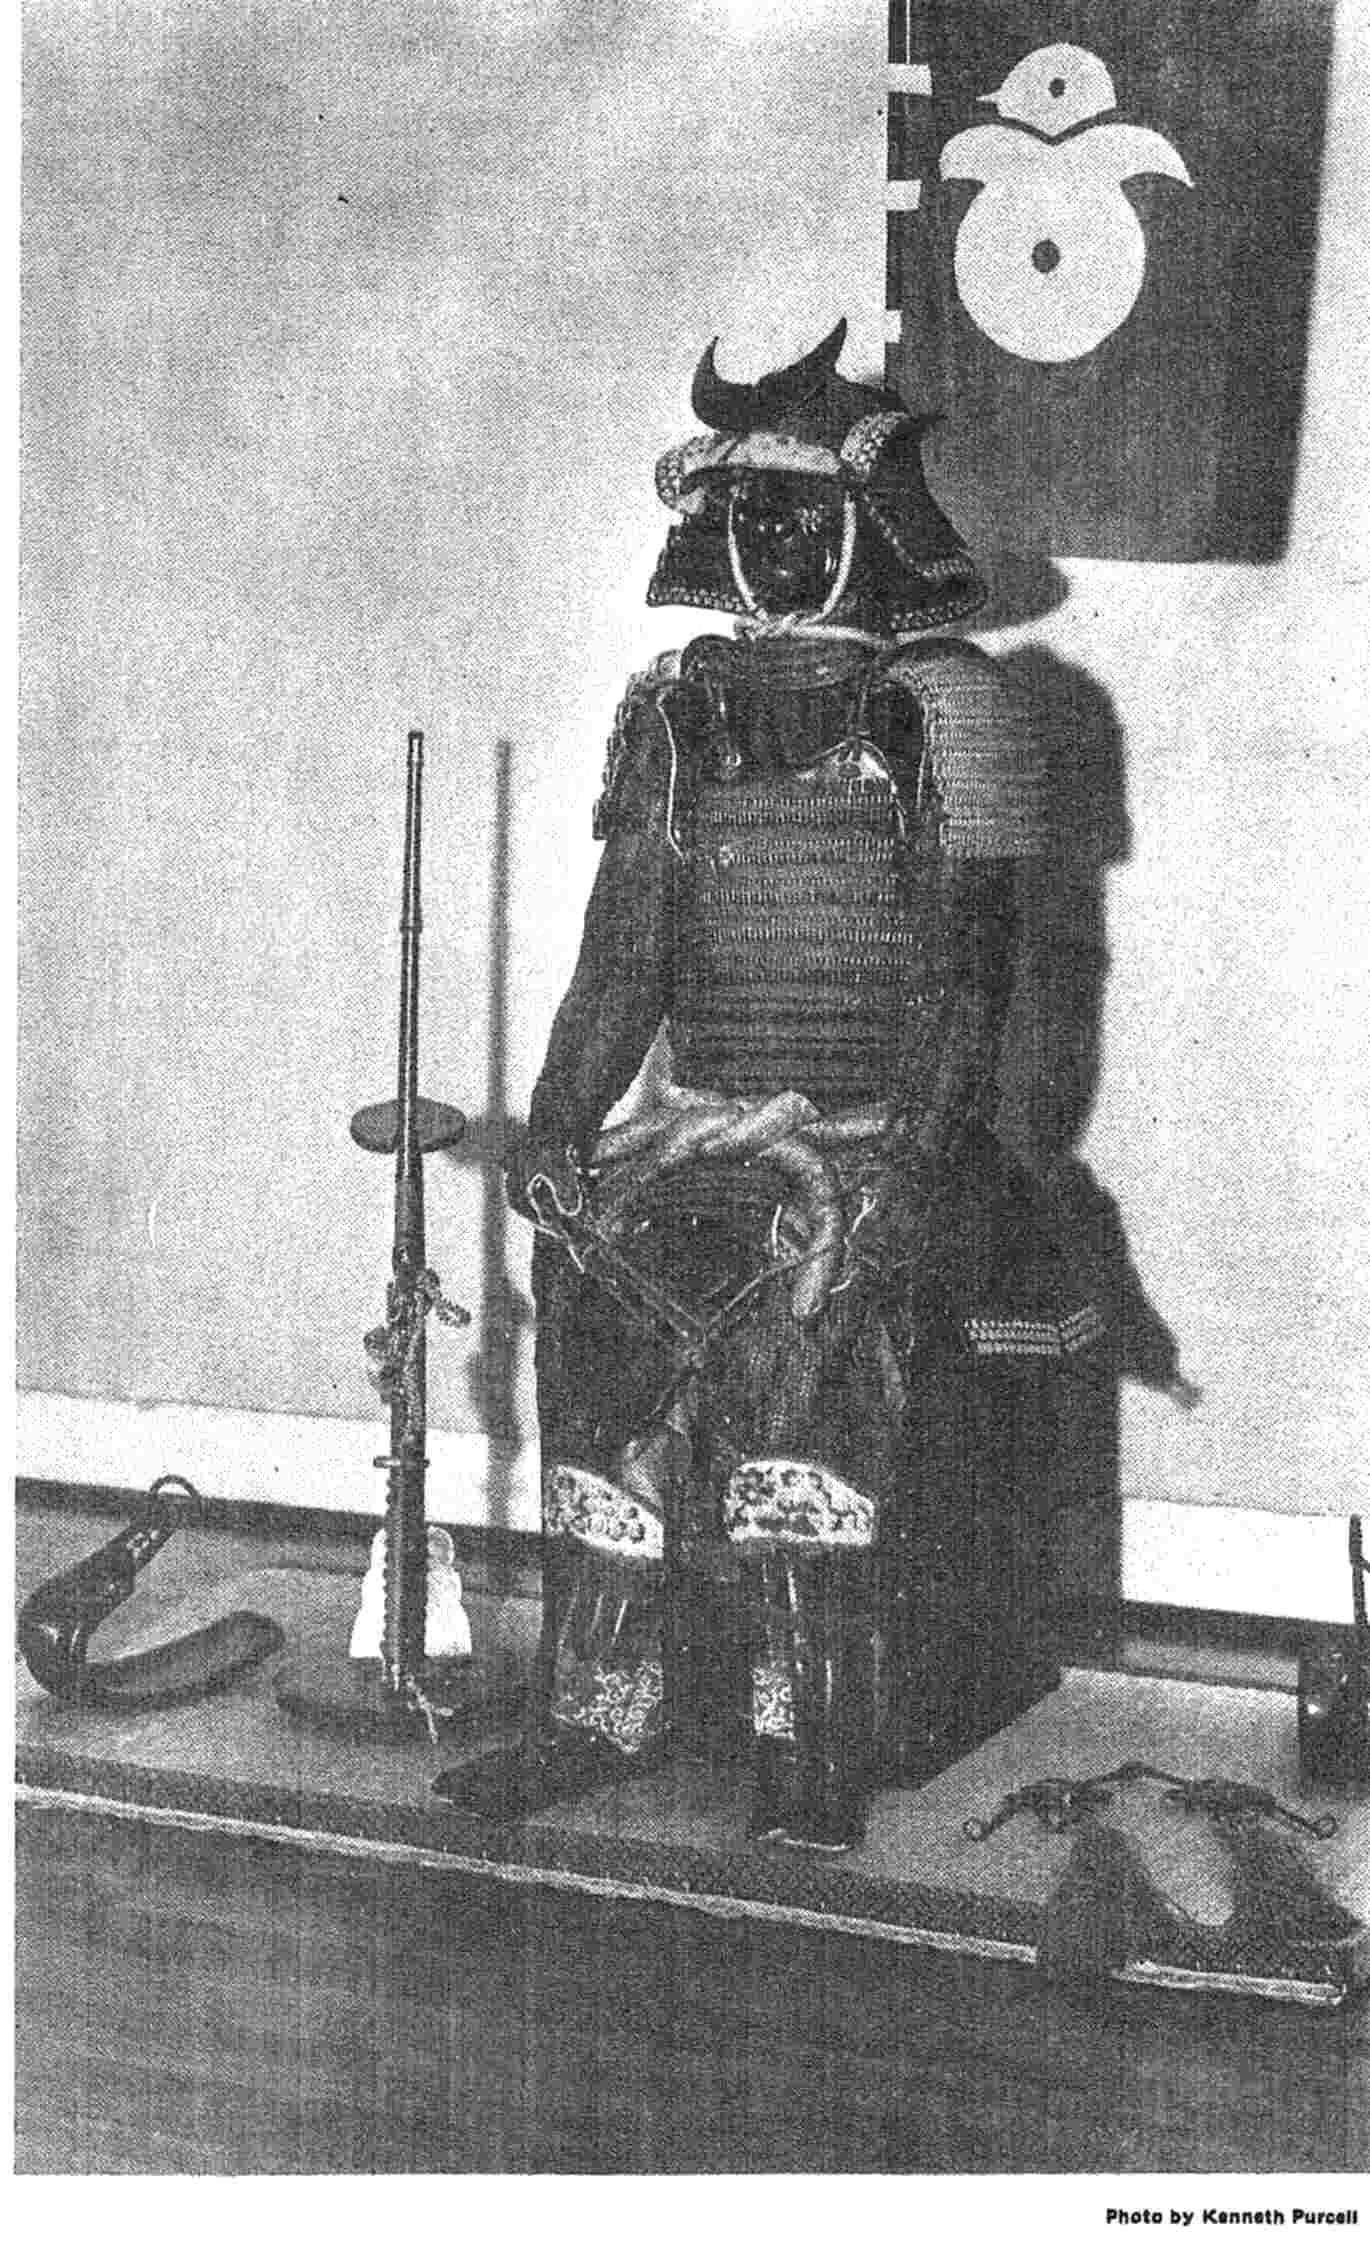
This figure shows the display of another suit of armor. Notice that the first suit had large plates in the body armor; whereas this suit has many smaller plates connected by silk cords. The display of this suit also includes other traditional accoutrements.
|
Another armor display, with tachi, stirrups, and flag |
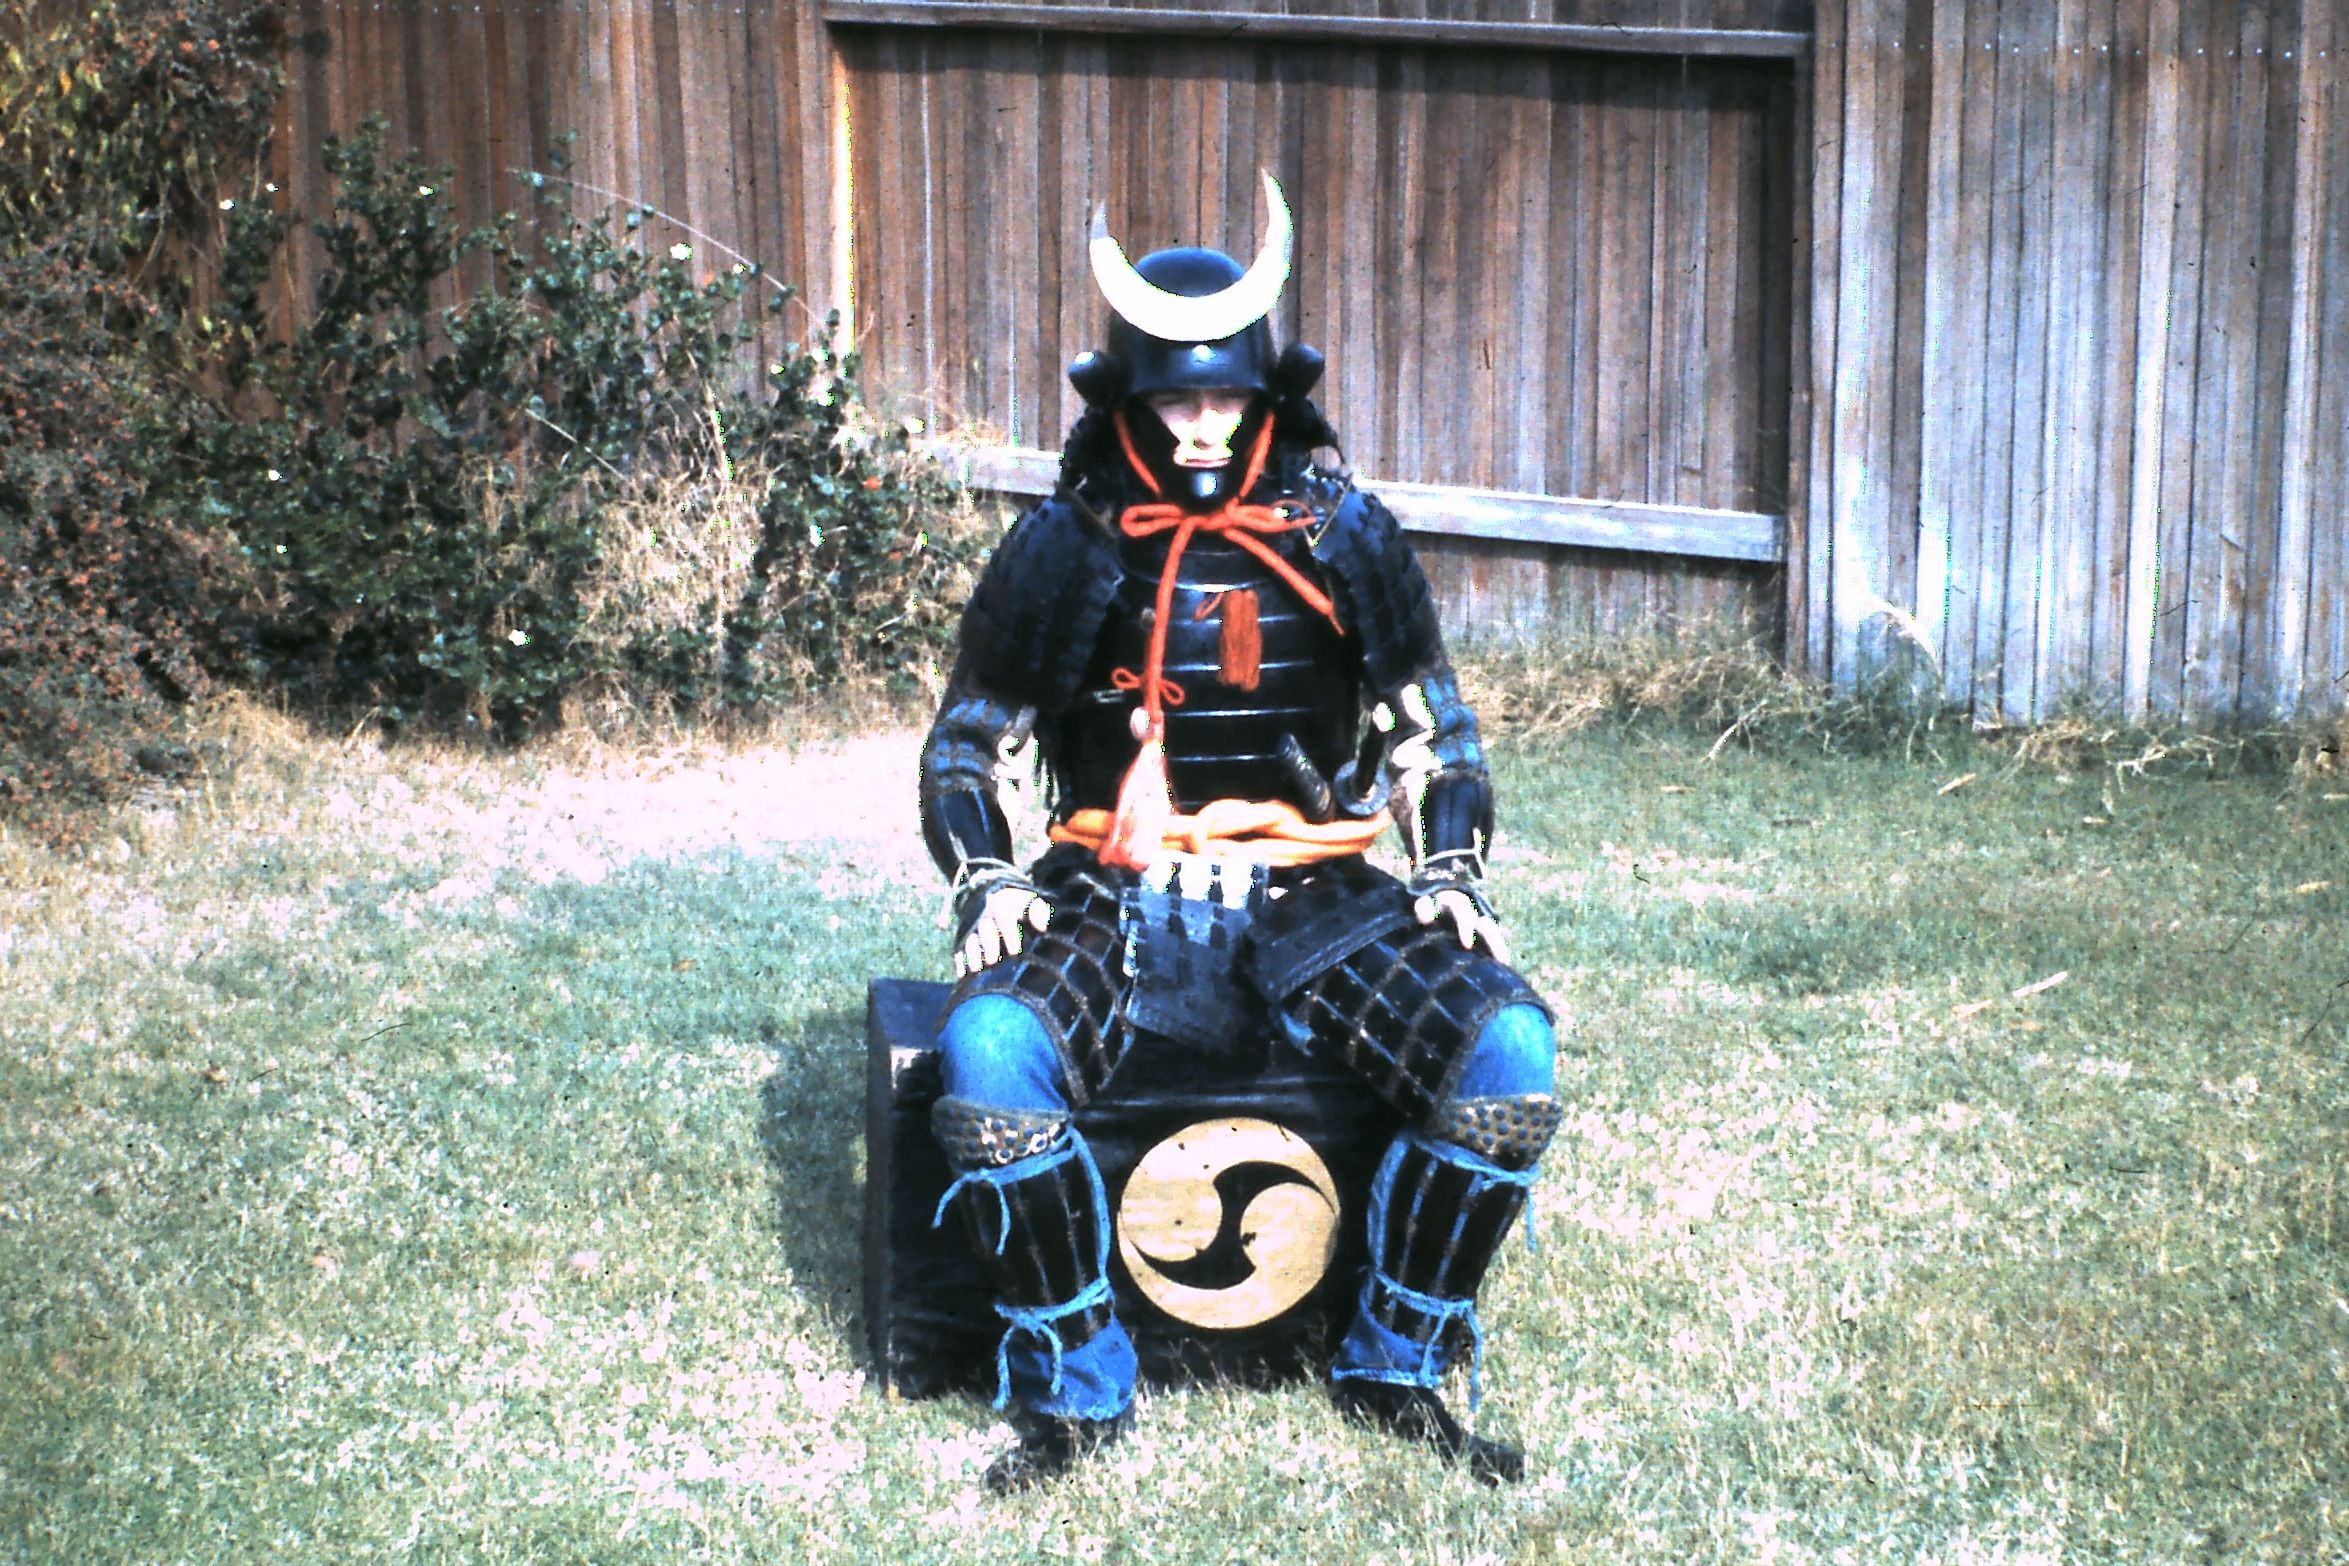
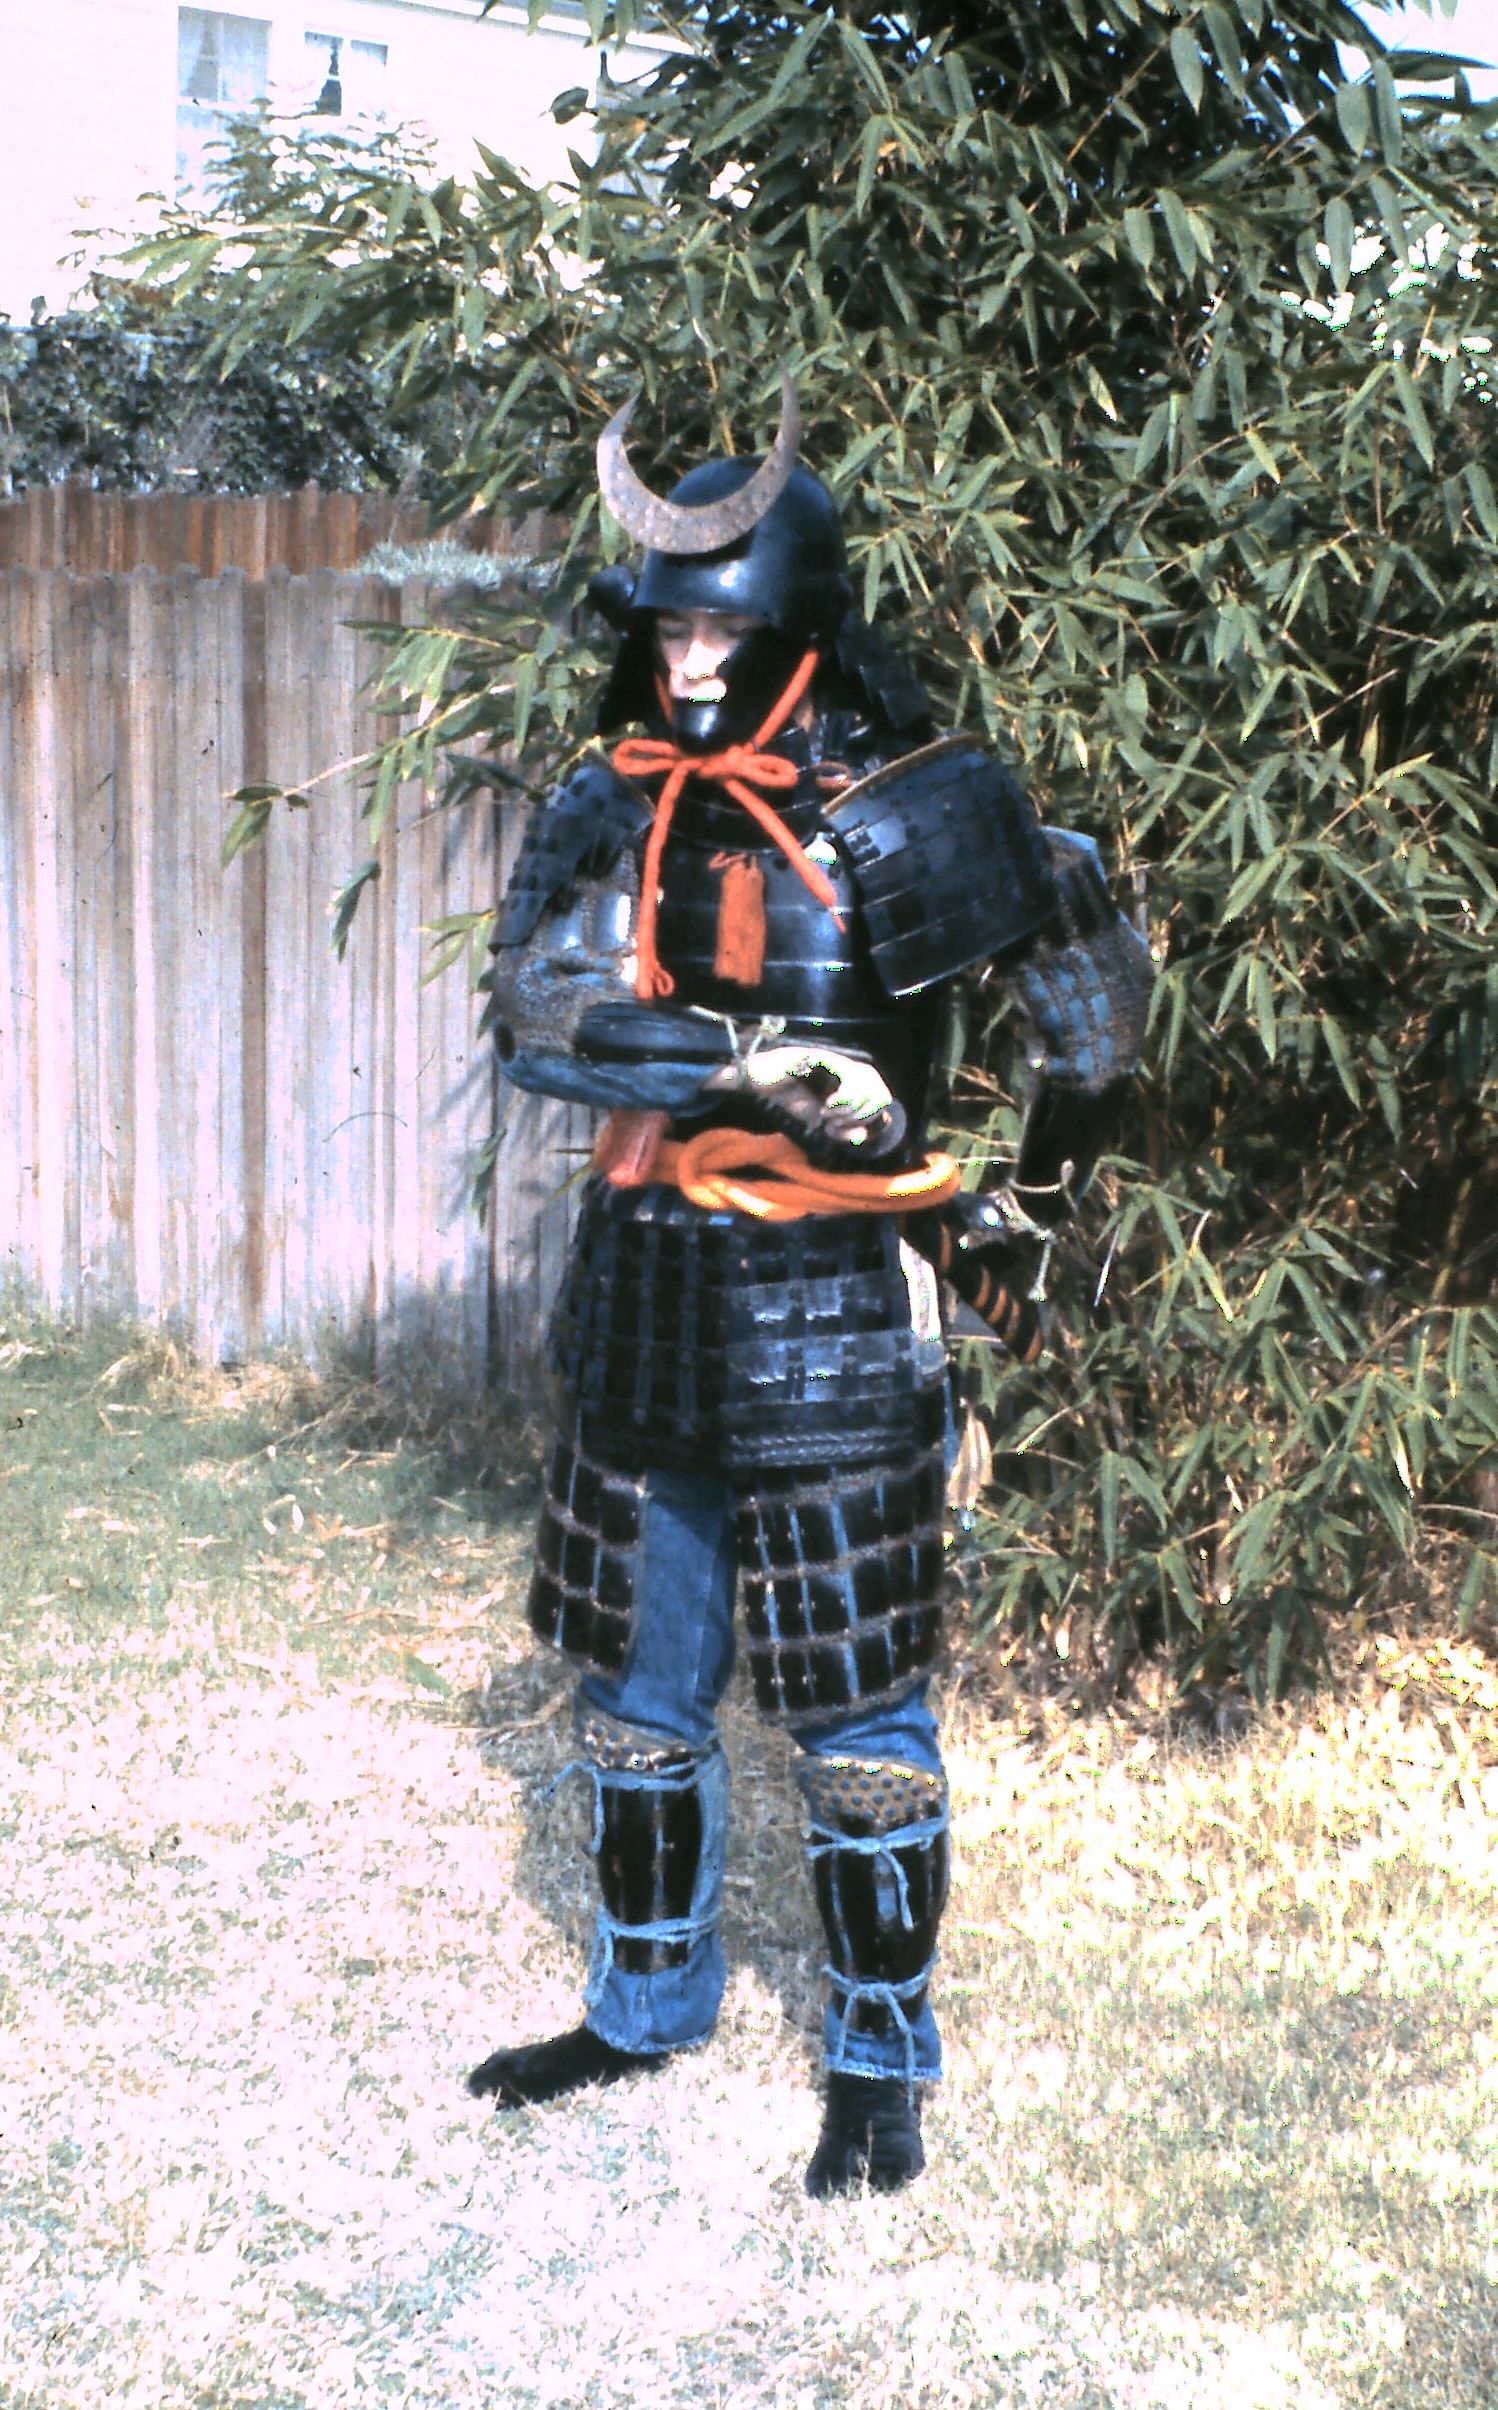
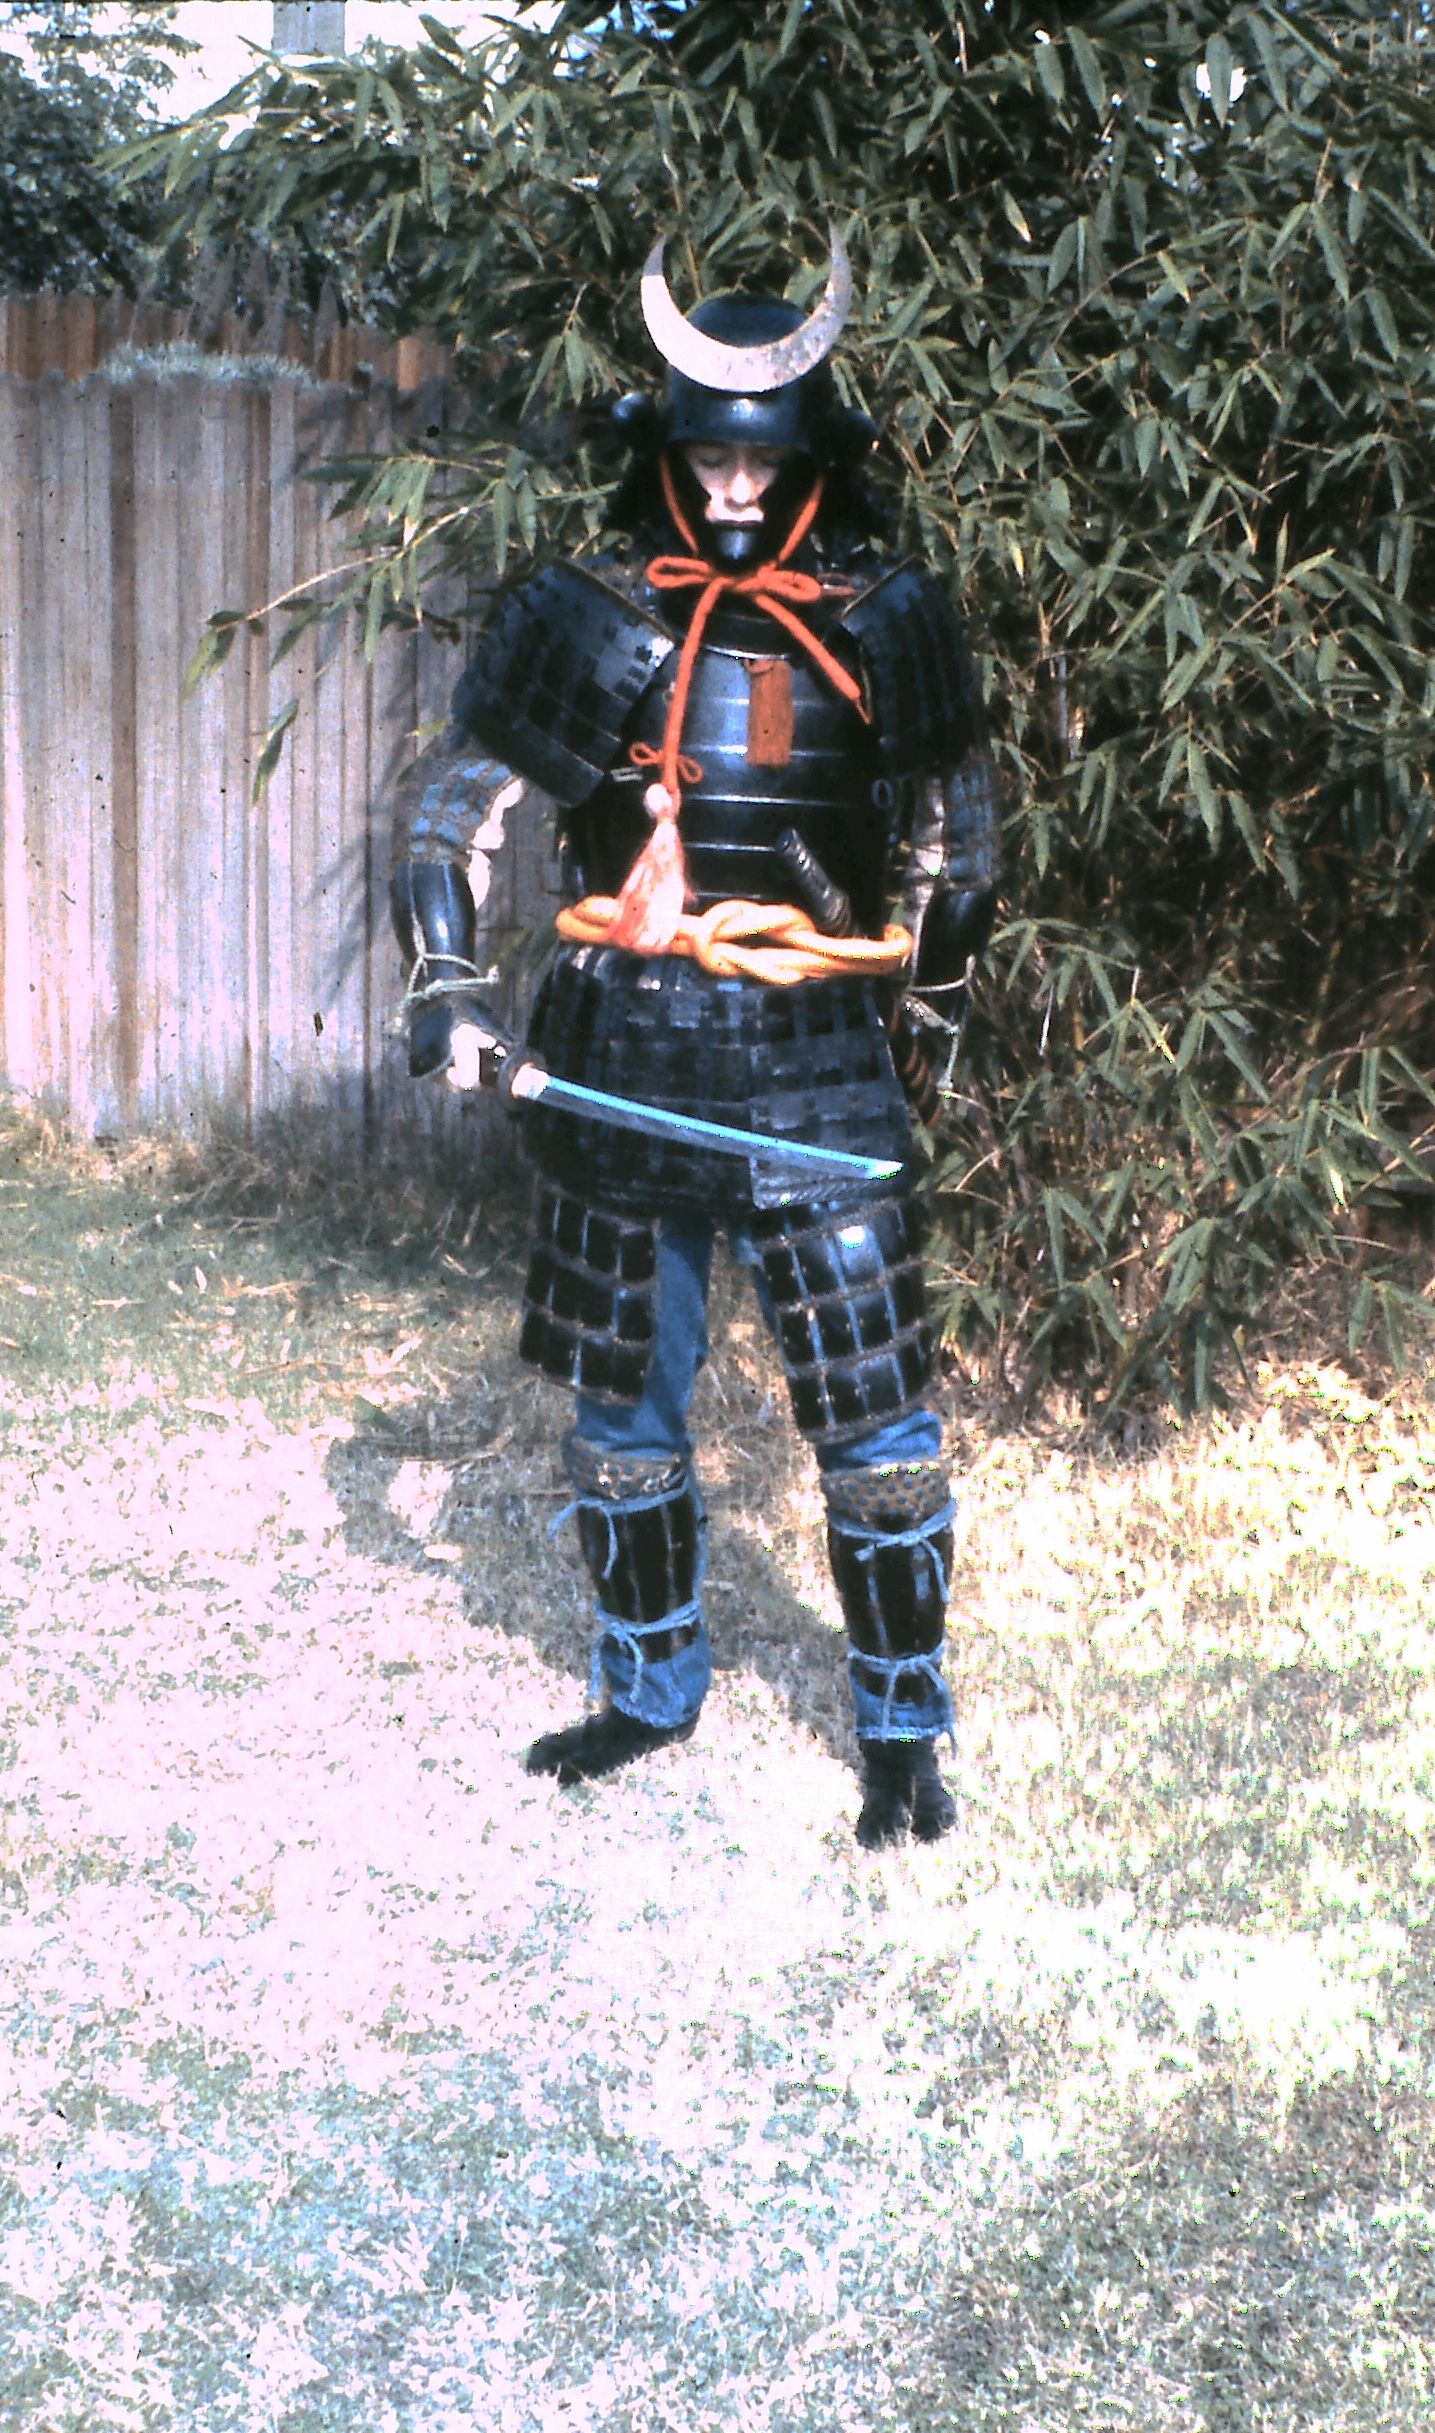
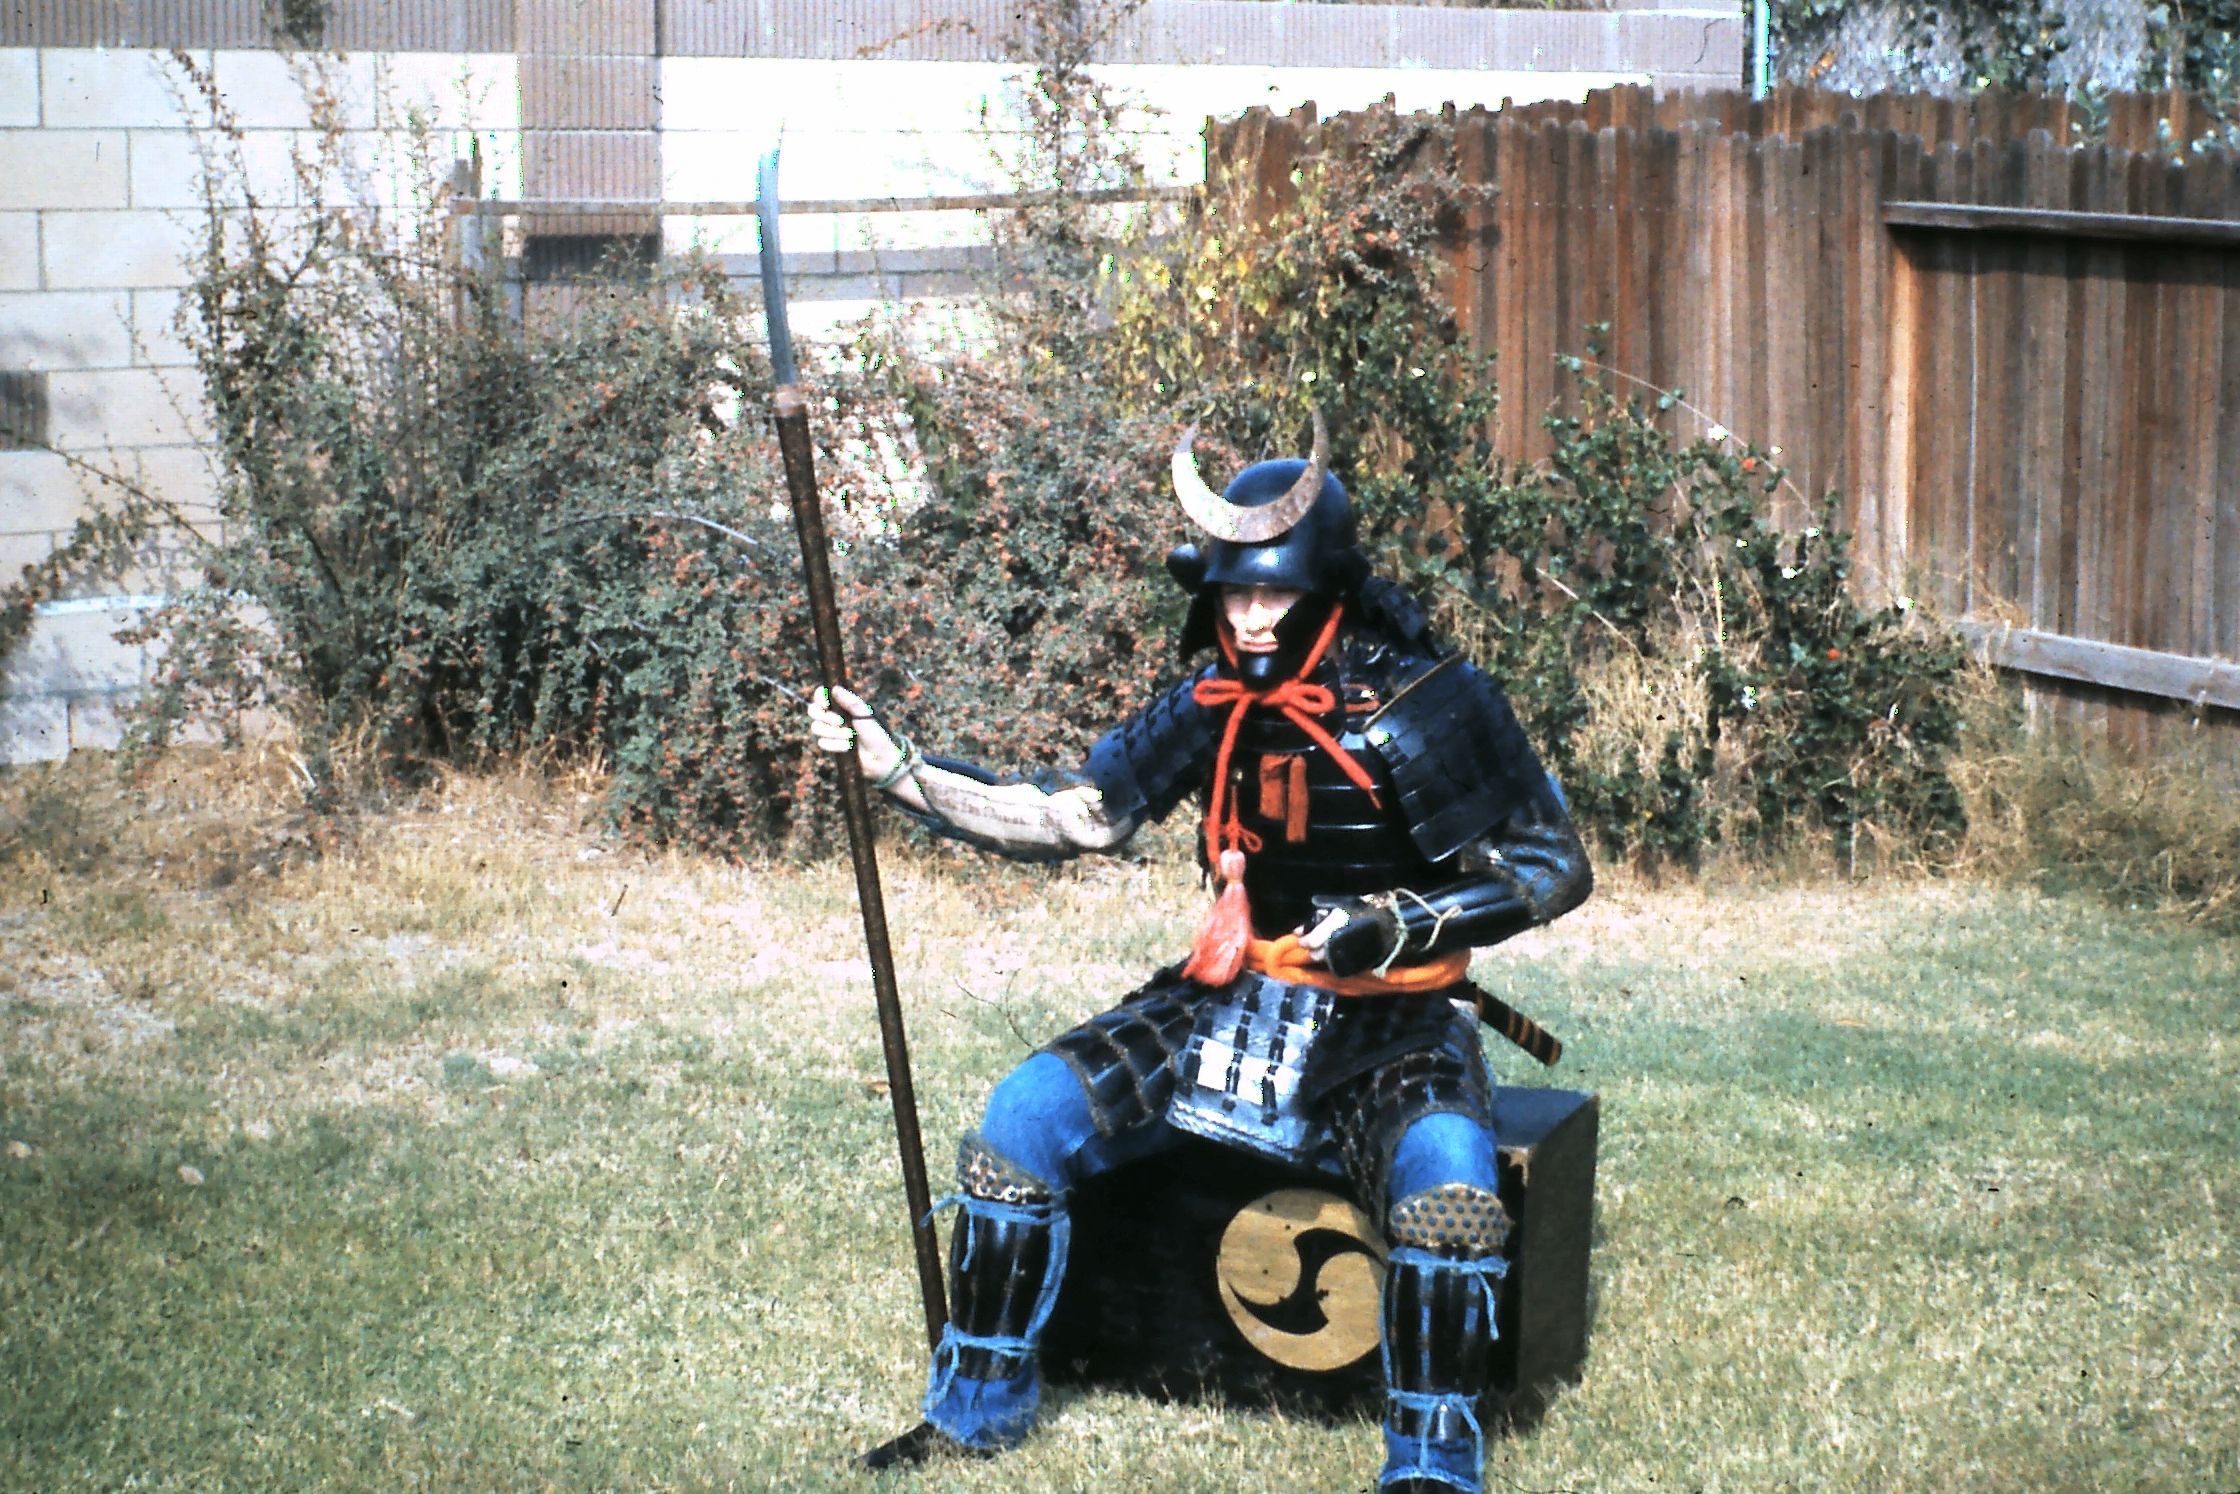
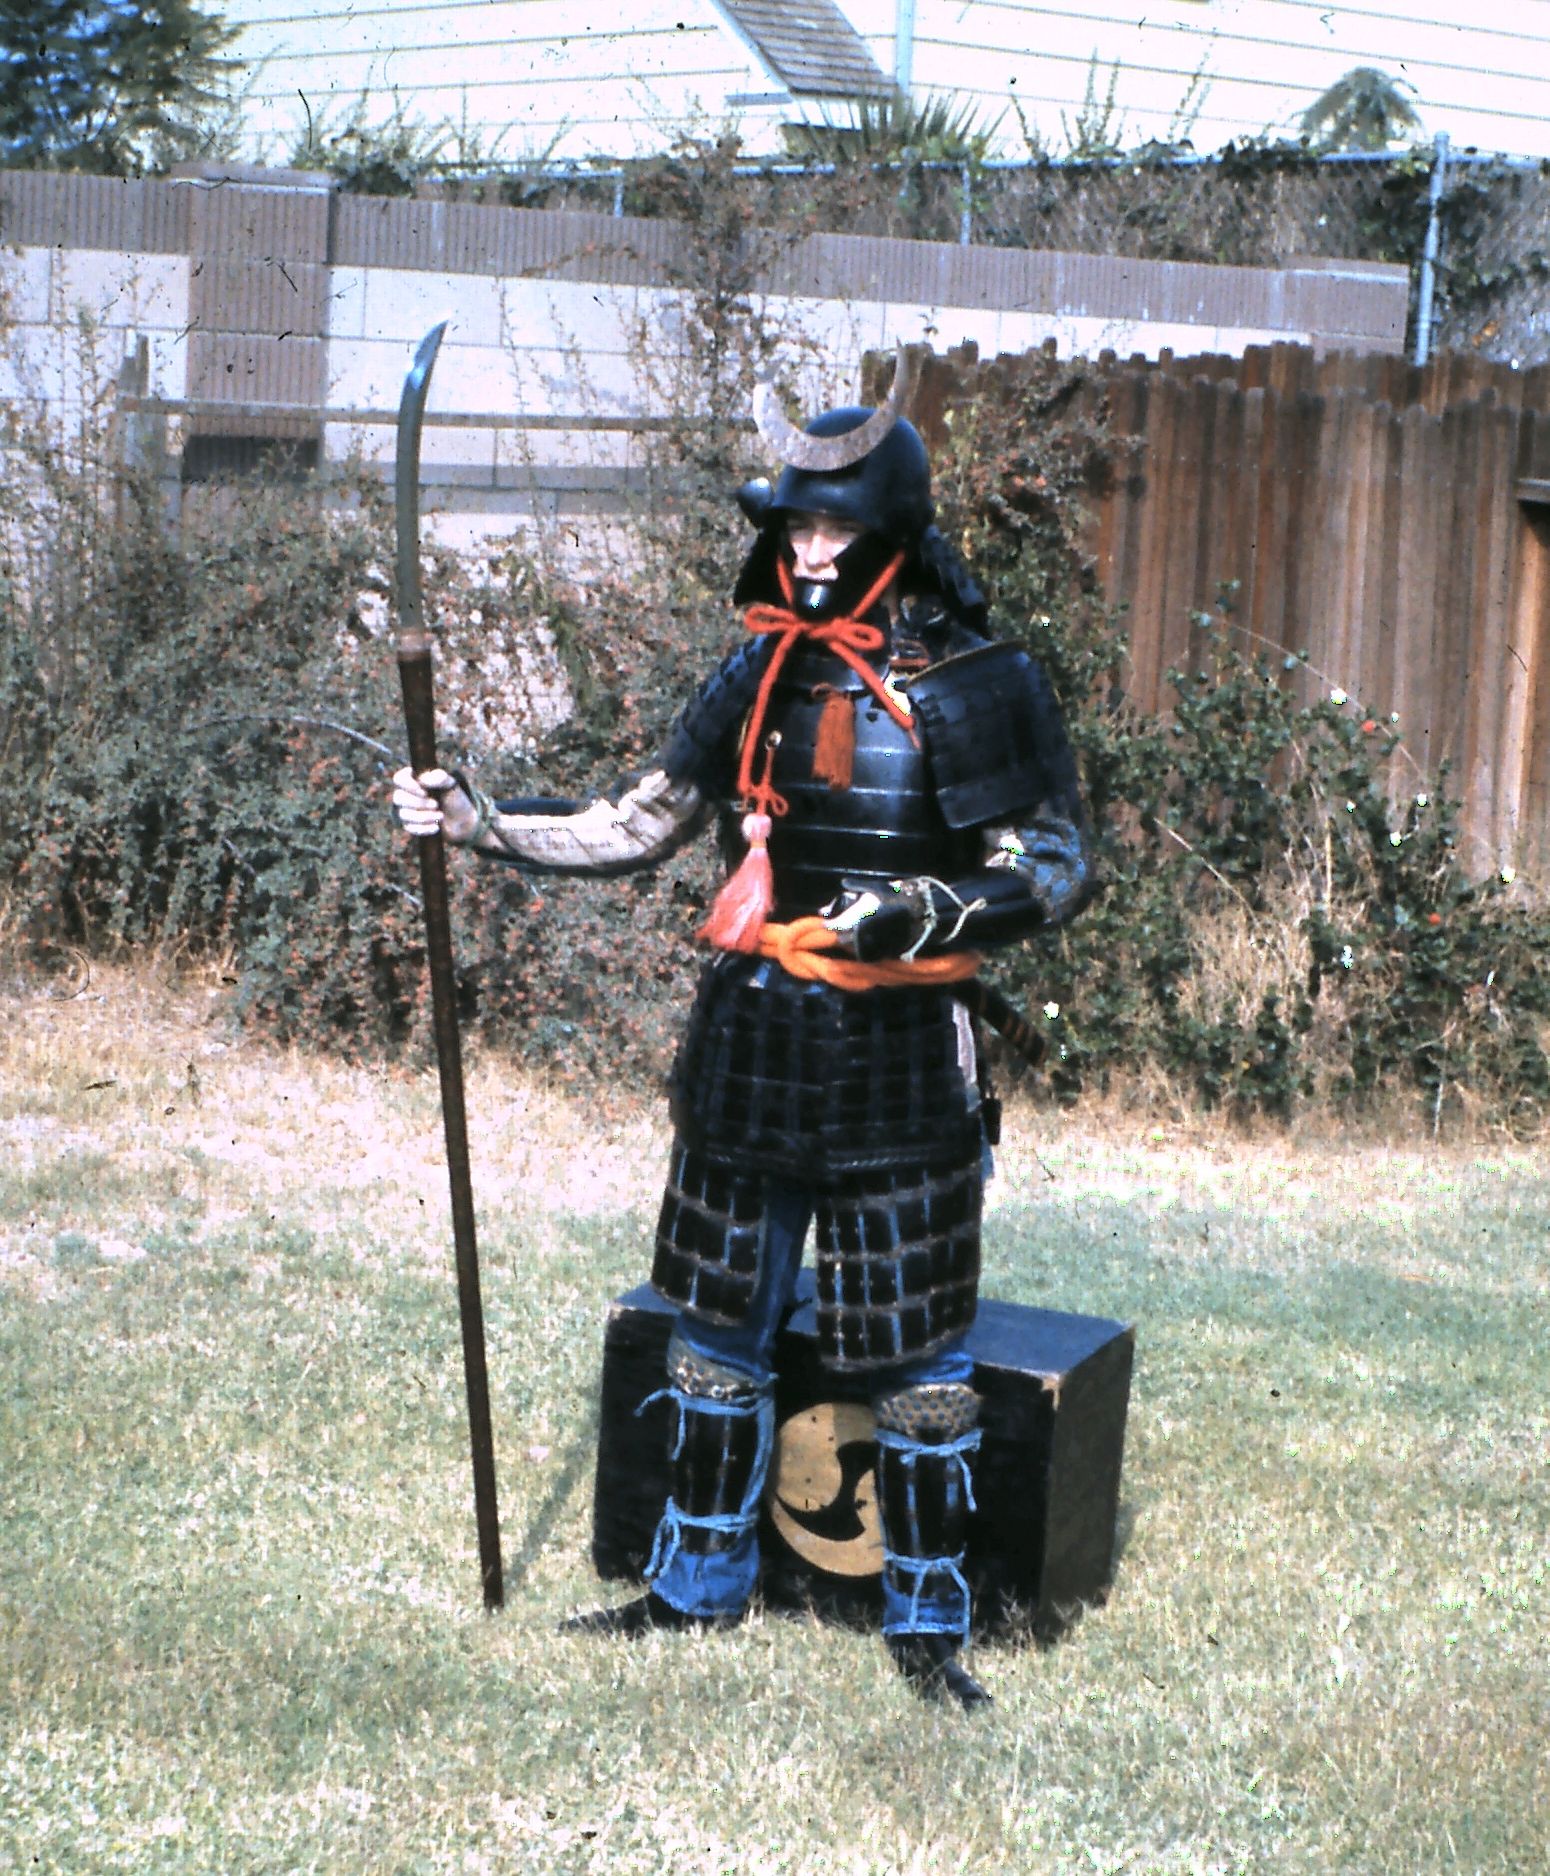
Bill Selden wearing a set of armor, wearing and drawing a sword and holding a naginata.
 |
 |
 |
 |
 |
|
"Wearing Samurai
Armor,"
![]() a 2.5 minute movie,
starring Bill Selden, 1963 or 64.
a 2.5 minute movie,
starring Bill Selden, 1963 or 64.
These figures illustrate three of the suits of armor that have been in Col. Hartley's collection.
Dean S. Hartley III